How to Color a Comic in Photoshop
Coloring a comic page in Photoshop follows a repeatable order: flat, set local color, render, then finish with effects. Get the flats right and every step after moves faster. Here's the full workflow, and where to save the most time.
Start with clean flats.
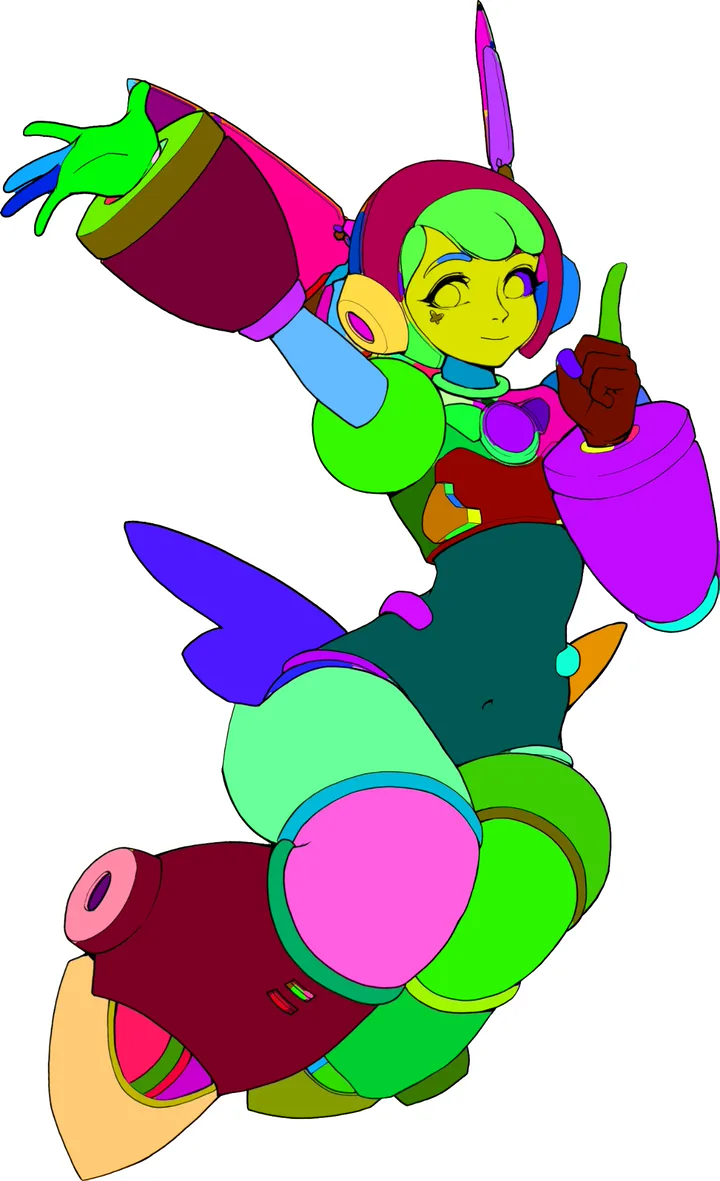
Everything downstream depends on your flats. Separate the inked page into flat, solid color regions — one per shape — so each area becomes a clean selection. Skip or rush this and you'll fight bleeding edges through the whole render. It's the single highest-leverage step in the page.
- ✓One solid color per region, fully separated.
- ✓Flats below the inks, inks untouched.
- ✓Every shape becomes a reusable selection.
Set the true colors before you light them.
Local color is the unlit, "true" color of each thing — the actual red of a jacket, the base tone of skin. Nail these before rendering, because light and shadow read differently once your local colors are wrong. A reference image or a fixed palette keeps a character consistent from panel to panel and page to page.
- ✓Pick local colors under neutral light first.
- ✓Use a reference palette for consistency across the page.
- ✓Adjust a region's color anytime — the flat is still a selection.
Light it, one region at a time.
Rendering is where the page gains depth. Load a flat as a selection, then paint shadow and light on clipped layers so nothing bleeds past the edges. Multiply layers for shadow, soft light or screen for highlights, and a rim of bounce light to separate a figure from its background — all kept crisp by the flats underneath.
Why flats pay off here: because every shape is already a selection, shading is confident painting instead of careful masking. That's the whole reason flatting comes first.
Keep rendering on separate layers from your flats so you can tweak light without repainting base colors.

Effects and a final grade.
The last pass ties the page together: glows on light sources, subtle texture or halftone, atmospheric depth on background layers, and a color-grade adjustment across everything to set the mood. Keep effects on their own layers so a single grade tweak can shift the entire page's feel without touching your render.
- ✓Glows and highlights on screen/add layers.
- ✓Atmosphere to push the background back.
- ✓A top color grade to unify the palette and mood.
Coloring questions.
Get to the Color
Faster.
Flatte turns your inks into clean, separated flat colors inside Photoshop, so the fun part — rendering and effects — starts sooner. A workflow tool, not an AI generator; every color stays yours.