How to Flat Colors in Photoshop
Flatting is the step between inking and coloring: you break your line art into clean, separated regions of flat color that you can select, shade, and render later. Here's how flatting works in Photoshop — the manual method every comic colorist learns, plus the faster way with a dedicated flatting tool.
Keep your inks on their own layer.
Good flats start with clean line art on a dedicated layer. Flatting sits underneath your inks, so your original drawing is never altered — you're only building a color base below it. If your linework has small breaks where shapes should close, that's fine; you'll patch those as you go.
- ✓Put your line art on its own layer, above everything else.
- ✓Add a new flats layer below the inks for your colors.
- ✓Work at the final resolution so region edges stay crisp.
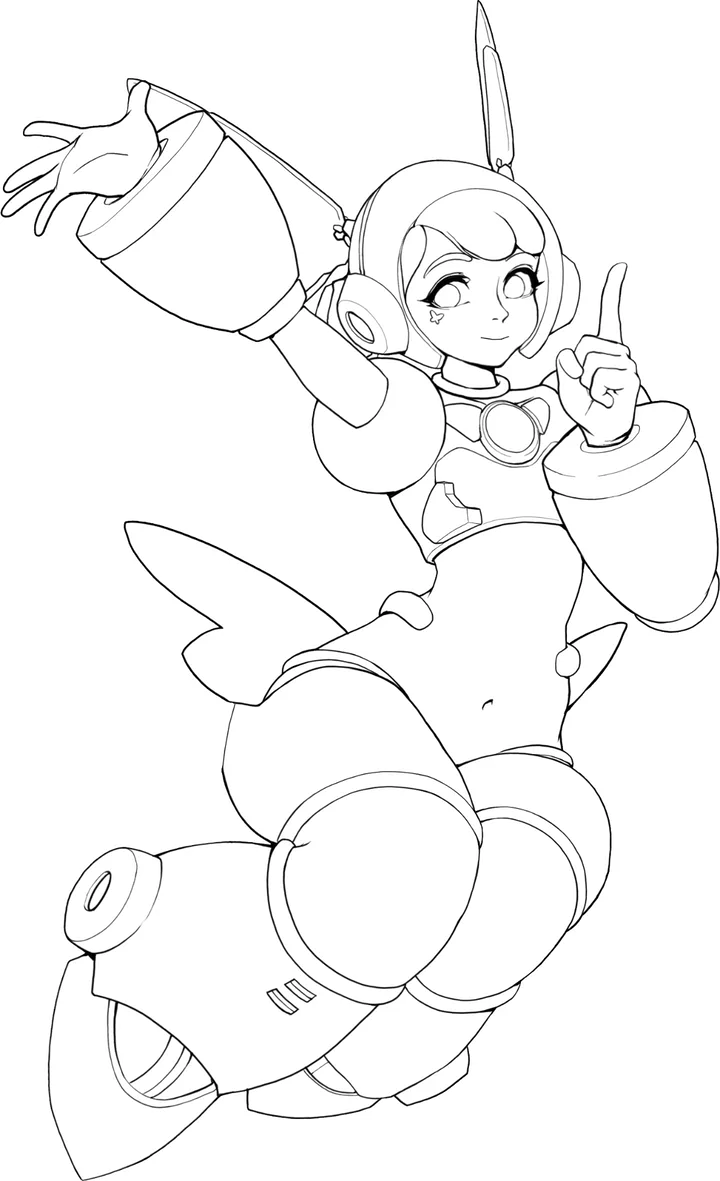
Give every shape a solid flat color.
Flatting means assigning one flat, solid color to each closed region — skin, hair, each piece of clothing, the background. The traditional way is to lasso or magic-wand a shape, fill it, and repeat for every region on the page. It works, but on a detailed page it can mean hundreds of manual selections, plus chasing gaps where color leaks through broken lines.
- ✓Use distinct colors per region so borders are easy to see.
- ✓Close small gaps in the inks so color doesn't leak between shapes.
- ✓Keep every fill fully opaque — flats are a base, not shading.
Fix gaps, joins, and splits.
No page flats perfectly on the first pass. A line that doesn't fully close will merge two regions that should be separate; a stray mark can split one region into two. Refining is where flats become clean: join pieces that belong together, split areas along a guide, and recolor a region without reselecting it by hand.
Why this matters: clean, fully separated flats are what make the rest of coloring fast. Every region becomes a reliable selection you can shade, gradient, and adjust without bleeding into its neighbors.
Flatte's Repair tools handle exactly this: Join merges fragments, Split separates connected areas along a guide you draw, and you can preview a repair before you commit to it.

Turn flats into selections for rendering.
The payoff of flatting is speed later. Because each region is a clean area of solid color, you can Ctrl/Cmd-click a flat to load it as a selection, then shade, add gradients, or drop in textures — all clipped perfectly to that shape. That's why flats are worth the effort: they turn coloring from careful masking into confident painting.
- ✓Load a region as a selection to shade without bleeding.
- ✓Clip rendering layers to your flats to keep edges clean.
- ✓Reuse a reference palette to keep colors consistent across a page.
Clean flats, every page.
- ✓Keep inks on their own layer; build flats below them.
- ✓Give every region a solid, distinct color.
- ✓Close gaps so color never leaks between shapes.
- ✓Join and split regions until each shape is fully separated.
- ✓Use flats as selections when you render and shade.
Flatting questions.
Flat a Whole Page
In a Few Clicks.
Flatte turns your inks into clean, separated flat colors inside Photoshop, then gives you focused Repair tools for the areas that need a human eye. It's a workflow tool — not an AI generator — so you keep control of every color.